 Quick start
- Installing the plugin
Installing the plugin
Extract the plugin into your wp-content/plugins directory so that it is in the /wp-content/plugins/awesome directory. Once installed, a menu item will appear on the left called “Presentations”. You can add categories and tags to every presentation you create so it can be treated like normal content.
- Quick Info
Quick Info
Shortcodes: You will have access to add a presentation anywhere by using the shortcode: [awesome id=””]
Access your presentations by going to www.yoursite.com/presentation/
All media you upload will appear in the WordPress site Media.
To add your own themes, you can put them into /wp-content/awesome/themes/themename. For more information on adding your own themes, see the Adding Your Own Themes.
Browser Support, from https://github.com/hakimel/reveal.js/wiki/Browser-Support:
- 3D Transforms – Chrome, Safari, Firefox, Opera and IE10.
- 2D UI with only linear animations – Maxthon, Android 2.3.7 stock browser, Dolphin 9.
- 2D UI with no animation – IE9, Firefox 3.6.
- 2D UI showing all slides in a vertical row – IE8, the Kindle Fire Silk Browser 1.0 and Maxthon Mobile.
- Absolutely no support – IE7 and lower, all non-JavaScript browsers.
For more information, check out our FAQ section!
- Creating Your First Presentation
Creating Your First Presentation
Go to Presentations on the left menu, and select “Add New”
From there you are taken to a normal WordPress entry page with some options for Style, Transition, an HTML box with your presentation code, and a button to open the visual editor for the slides.
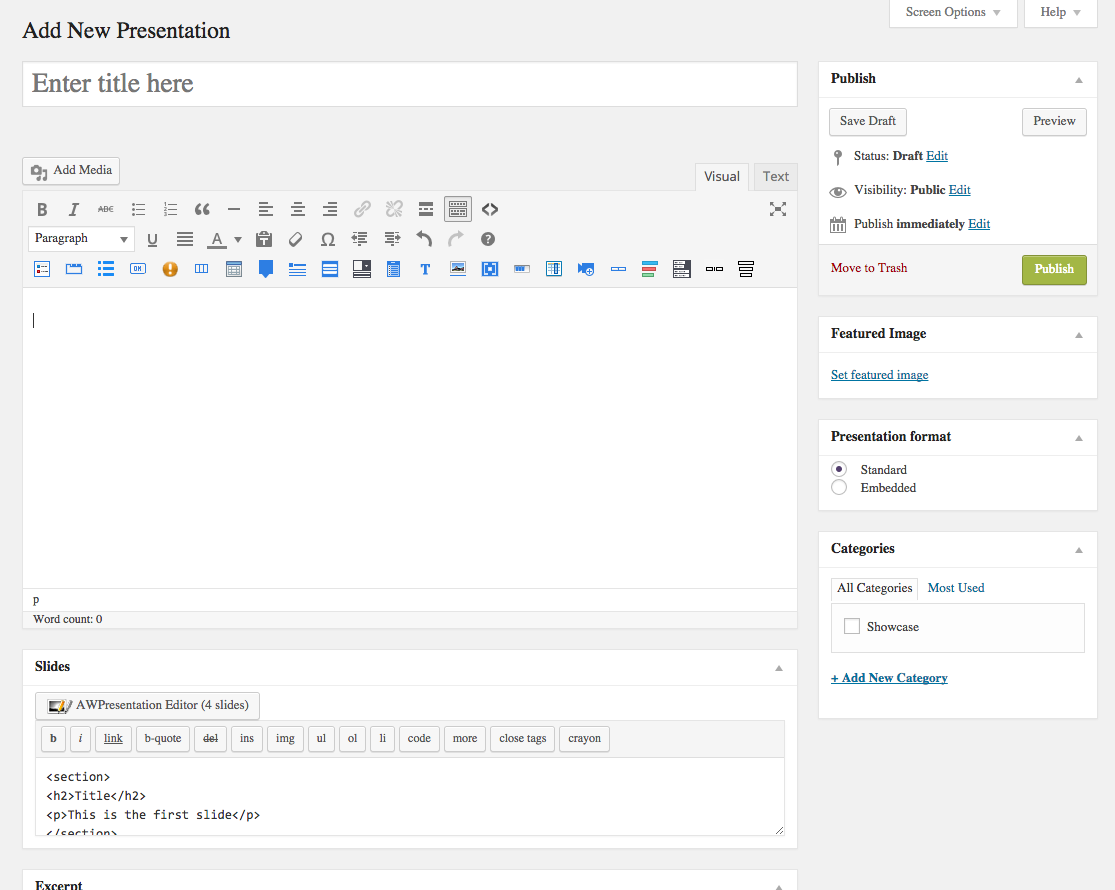
This is my amazing caption On the right you can choose the presentation format either as Standard or Embedded.
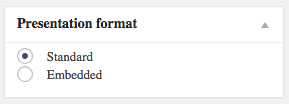
Standard: This is is a presentation that will open full screen. This is 100% of the window width and height. A button will be placed on the page and clicking it will open the presentation.
Embedded: This will appear into the page so you can immediately see it. There are navigation controls just as normal. This is particularly good if you have many presentations on one page.
Right now, keep it as Standard, give the presentation in a title, and click

- The Presentation Editor
The Presentation Editor
This is a way to edit all your slides and view your presentation at the same time. You will be greeted with some [+] buttons to add slides to the right and bottom. In the bottom right are your navigation keys to go to each slide. You can also quickly navigate and view all your slides by pressing the escape key.
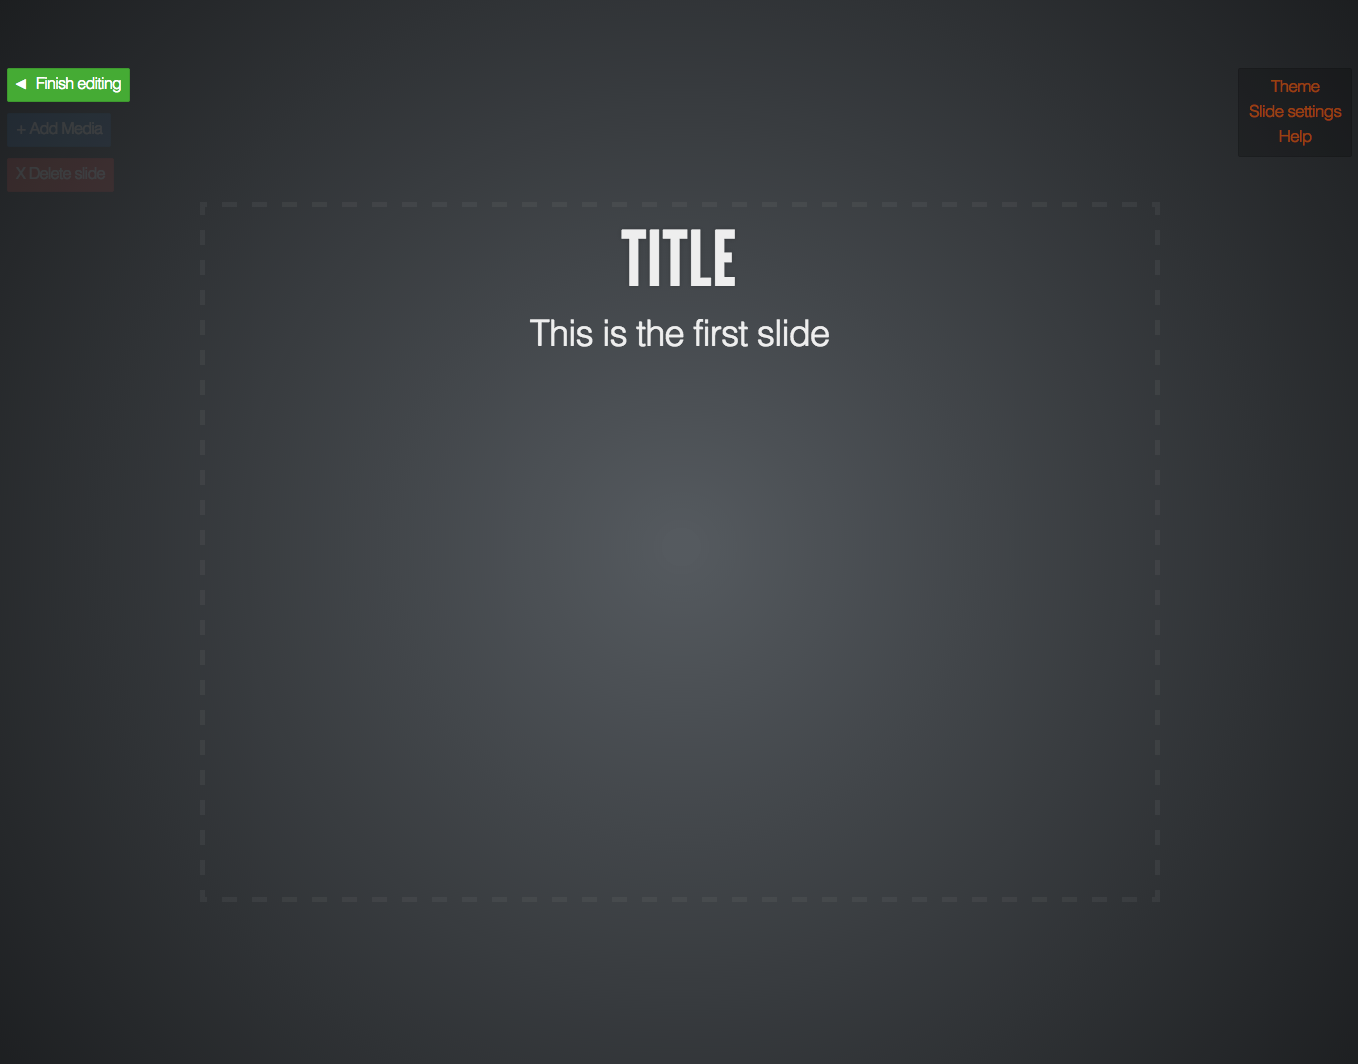
When you click in the dotted square, the WordPress WYSIWYG editor will display. You can add pretty much any plugin or shortcode into this area as well as media as normal!
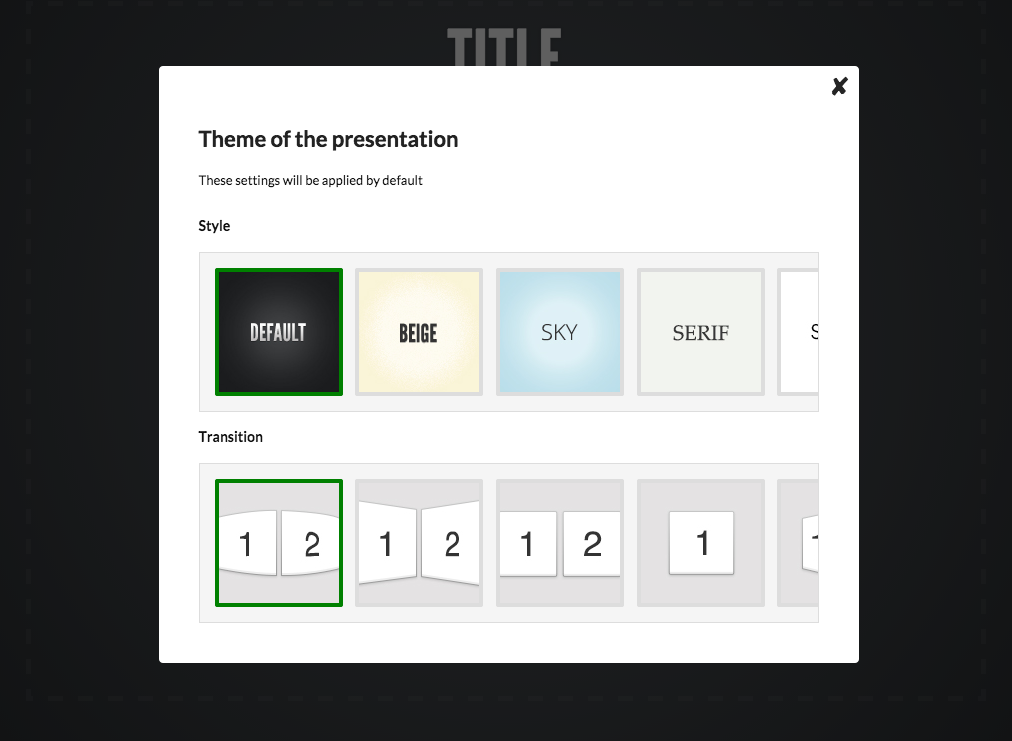
At the top right you can edit live your theme and slide settings. While theme is pretty clear, theme settings might need some explanation.
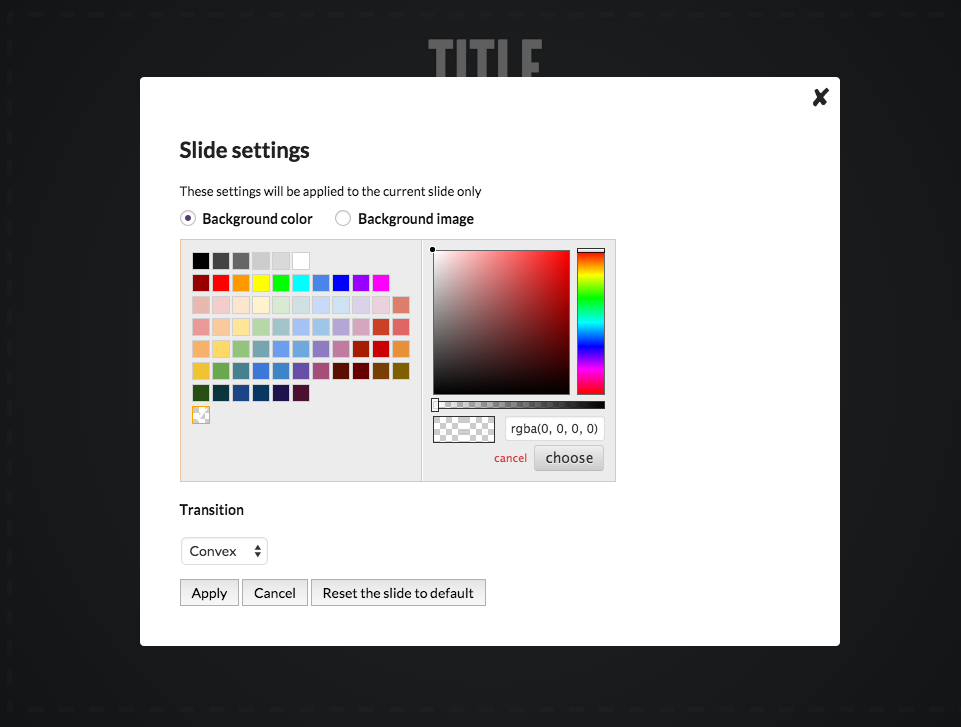
Slide Settings
Here you can upload a background image, set a background colour and choose the transition into the slide. It will override the theme defaults so you can use the existing themes as a base and go from there. If you have made some mistakes and want to go back to the default, hit that reset button.
Theme settings
Here you can adjust your transitions and theme right while editing. The changes are live!
Need help?
Any help for shortcuts while editing can be seen with the help button.
Managing the slide
On the left are some buttons for adding media (essentially the “Add Media” button from WordPress), and deleting the current slide. Once you delete it, that’s it. You cannot get it back. However, presentations will use the revision system inside of WordPress so you can go back if you have saved (or auto-saved).
- Adding Content
Adding Content
At this point, add in a title and some text. Experiment a bit! Add in an image and get something basic up even if it is just text. After you’ve got some slides in, click the close button in the top right (X) and you will be returned to WordPress.
All the HTML for your slide now appears in the textarea below it. From here you can quickly edit your text instead of going into the editor. You can also familiarise yourself with the structure. You might already be a developer or have an existing presentation to add so you can just cut and paste it right in.
Click Publish on the right and you’ve saved it down. Click View Presentation up the top and see your fine work.
Embed it
Now that it’s saved, add in some body text, and make it an Embedded presentation and save (click Update). View your presentation now and you can see it inline, right in the content.
- More help?
More help?
Find a bug or have a question? We want to help! We have a ticket tracking system for bugs, an area to request features, and ofcourse, there are always the Forums!
